Few things are quite as painful to look at as grout that's chipping away around your otherwise perfect tiles. The only thing arguably worse is having to actually call someone in to fix it for you, so if you're willing to get your hands a little dirty, it's really a project you can DIY. But how?
Lowe's suggests starting by making sure you are choosing the correct materials. To begin, you'll need to determine which type of grout you need—sanded, unsanded, acrylic, or epoxy grout. In short, sanded grout should be used if the space between tiles is more than 1/8 of an inch (but not on metal, glass, or marble tiles), and unsanded grout should be used if the width is less than 1/8 of an inch.
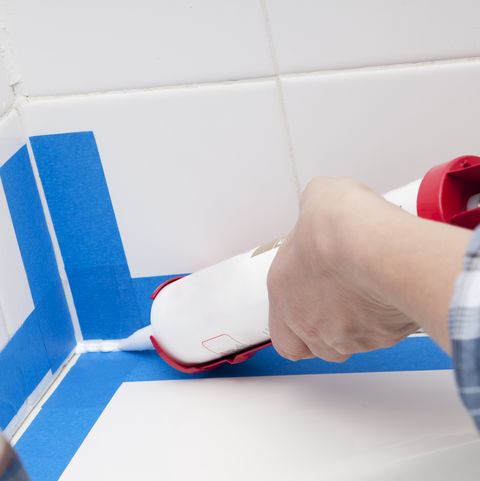
Once you've determined the type of grout you'll be using, follow these steps, according to Lowe's:
1) Clean the area where the grout is broken with a 1-to-1 vinegar and water mixture.
2) Remove damaged grout and debris with a grout saw. Be extra careful with this step as you can scratch or chip tiles during the scraping process.
3) Follow the instructions on the grout to create the mixture.
4) Spread the grout and completely fill the cracks using a grout float. It is best to do this at an angle, then smooth over the grout with a wet finger.
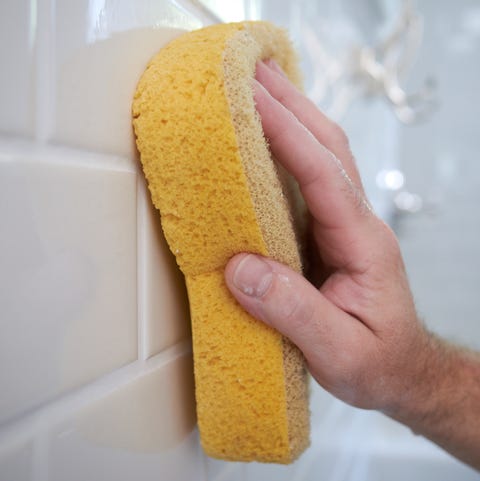
5) Using a grout sponge, get rid of any excess.
6) Allow the grout to set based on the instructions with which it came. Note: Depending on the type of grout you use there may be slight differences. Be sure to follow directions carefully!
7) Use a haze remover to get rid of residue, if needed.


Comments:
Post Your Comment: