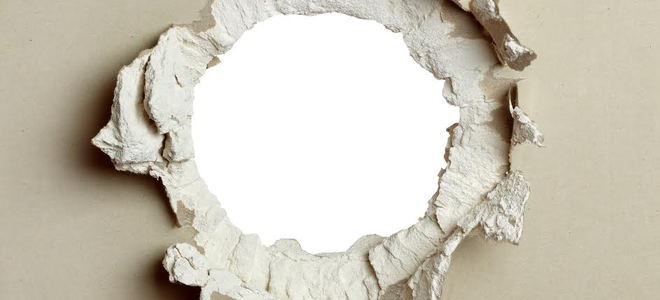
Every house will acquire holes in the walls throughout its life. Whether it is a small hole from a painting you re-located or a larger hole from an accident, fixing a hole in the wall is a relatively straightforward process. Here are seven steps to fix a hole in the wall in your house.
Step 1 - Prep Surface
Start by cleaning around the hole and making sure any loose drywall or paint is removed. You want to get the surface around the hole as smooth as possible so that the patching compound will get the best adhesion. Sand around the perimeter of the hole to remove as much excess drywall as possible.
Step 2 - Patch Small Holes

For holes smaller than 1/2 inch in diameter, you do not need a bridging compound. You can simply fill the hole with some spackle or plaster and use your putty knife to smooth out. Once the compound is dry, sand it and repeat the process until the wall is smooth. After that, you can use a texture spray to mimic the existing wall and paint.
Step 3 - Add Hole Patch
If the hole is larger than 1/2 inch, then you need a hole patch to smooth out the surface. Start by placing the patch over the hole to determine the size of the patch. You want to leave 1/2 inch extra all the way around the hole. Once the patch has been cut, take off the backing paper and install the patch over the hole. Try and get the edges of the patch as smooth as possible before proceeding. If the adhesive fails to stick, use a wet sponge to apply the patch. You can also use some patching compound around the edges to secure it in place.
Step 4 - Apply Patching Compound
With the patch in place, add the patching compound with your putty knife. Start by applying the compound around the edges of the patch, working your way inward. Ensure the patch is completely covered with the compound before stopping. Most compounds will dry a different color when they are fully dry. If the hole is fairly large, you may need to work in sections, allowing each one to partially dry before continuing. This will help keep the mesh in place and provide extra support for the middle of the patch. Try and get the compound as smooth as possible before it dries as this will cut down on sanding.
Step 5 - Sand

You should let the compound dry overnight before sanding. When you start sanding, do not stop until the edges of the patch are in line with the outer wall. This will help blend everything together when you paint. Once the sanding is complete, clean the area with a damp cloth and let it dry for about 15 minutes. While the wall dries, clean up any access dust or particles that were created during the sanding process.
Step 6 - Prep for Paint
Depending on the style of the wall, you should use a textured spray prior to painting. The spray should match the existing wall’s texture, so you may need to adjust the thickness until you get it just right. Once the texture is on, allow it to dry overnight before painting.
Step 7 - Paint
Getting the paint to match might be the hardest part of fixing a hole in the wall. If you do not have the original paint, you can remove a few chips and take it down to your local hardware store to get it matched. Once you have the right paint, simply paint over the patched surfaced and allow it to dry for around six hours. If you do not want to go through the trouble of matching the paint, you can repaint the entire wall a new color.


Comments:
Post Your Comment: